


May 15, 2026

While we spend much of our time working with top design/build professionals on stunning commercial and residential wine rooms, our products are also designed in such a way that most DIYers can create the wine wall of their dreams on their own.
Here's what you need to know:
1. Determine Your Space & Cooling Needs for a Home Wine Cellar
Well before the first drywall anchor gets punched into the wall, it’s important to set goals for the project. Wine storage can be as simple as a few bottles mounted to the wall in a kitchen all the way up to thousands of dust-worthy bottles in a master cellar.
Questions to ask:
- How much space do you have and will the desired bottle capacity fit?
- Does the area need cooling, either because of what you are collecting or where you are placing it?
2. DIY Wine Wall Installation vs. Hiring a Professional
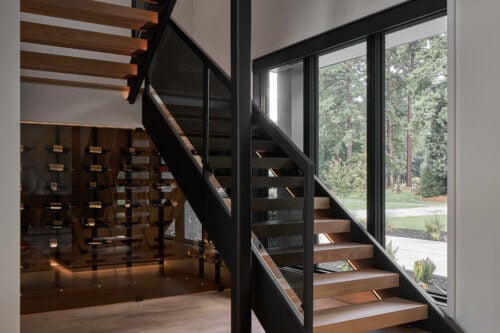
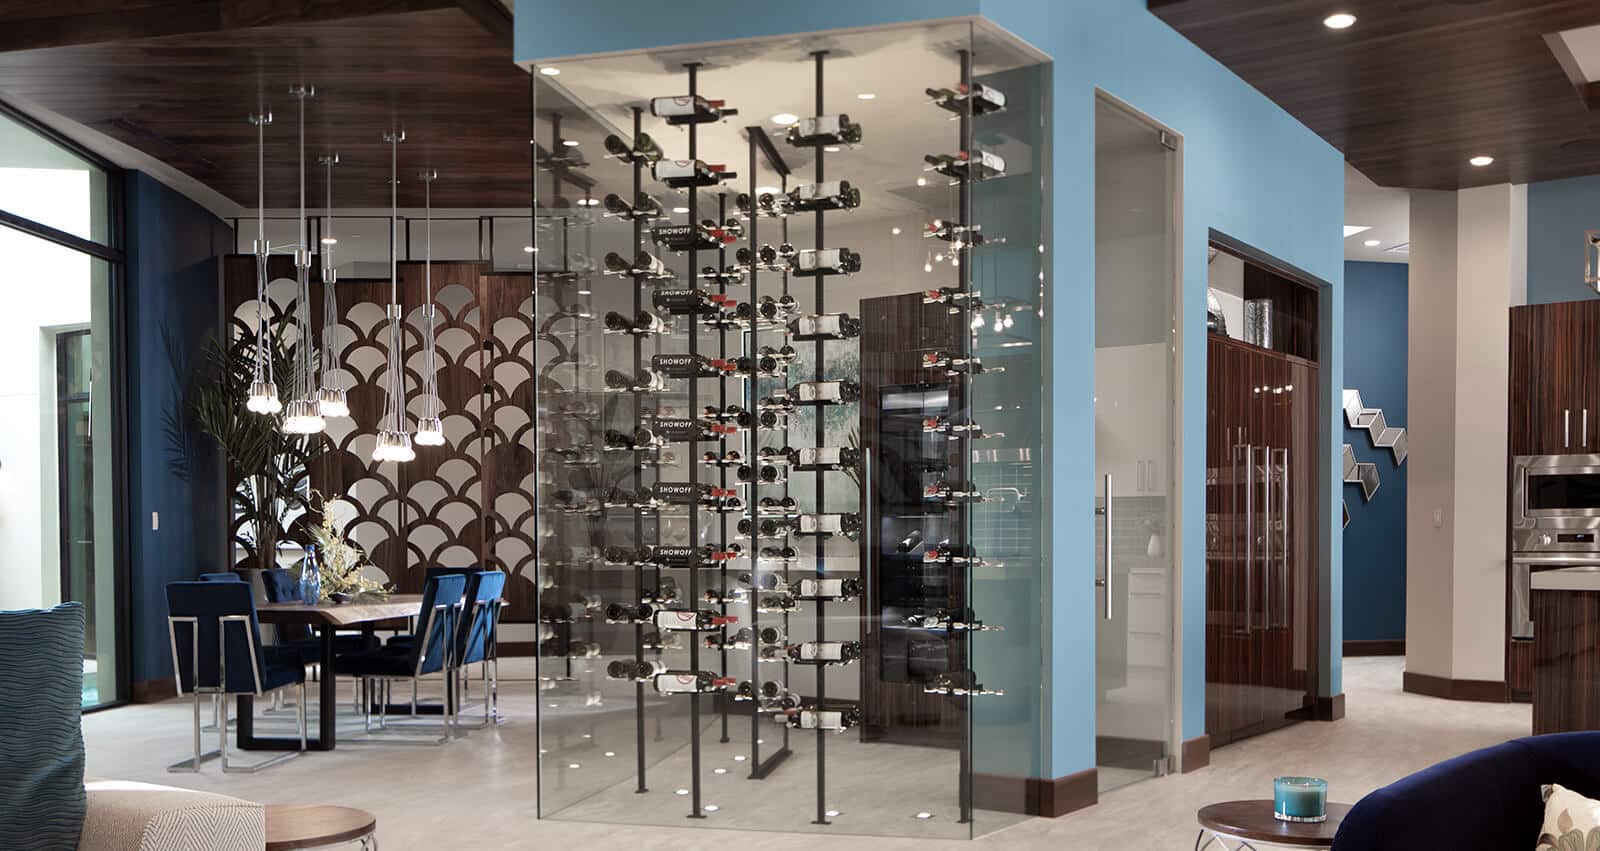
Depending on the project goals you set, the design and installation may stretch your DIY skills. Most handy wine drinkers can install a wine wall or hang racking in a closet. Some can add insulation and a through-the-wall cooling unit. We’d only trust our Signature pros for expansive cooled projects and/or ones that feature tricky elements such as glass walls.
If you are doing a passive project (no cooling) and know how to measure, level, and install to drywall or wood surfaces, you should be in good shape with any of our racking systems. Once cooling is involved, we always recommend speaking with a GC, HVAC pro, and/or full suite wine cellar builder.
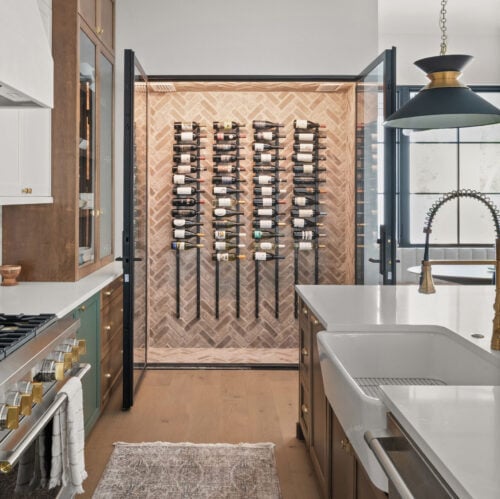
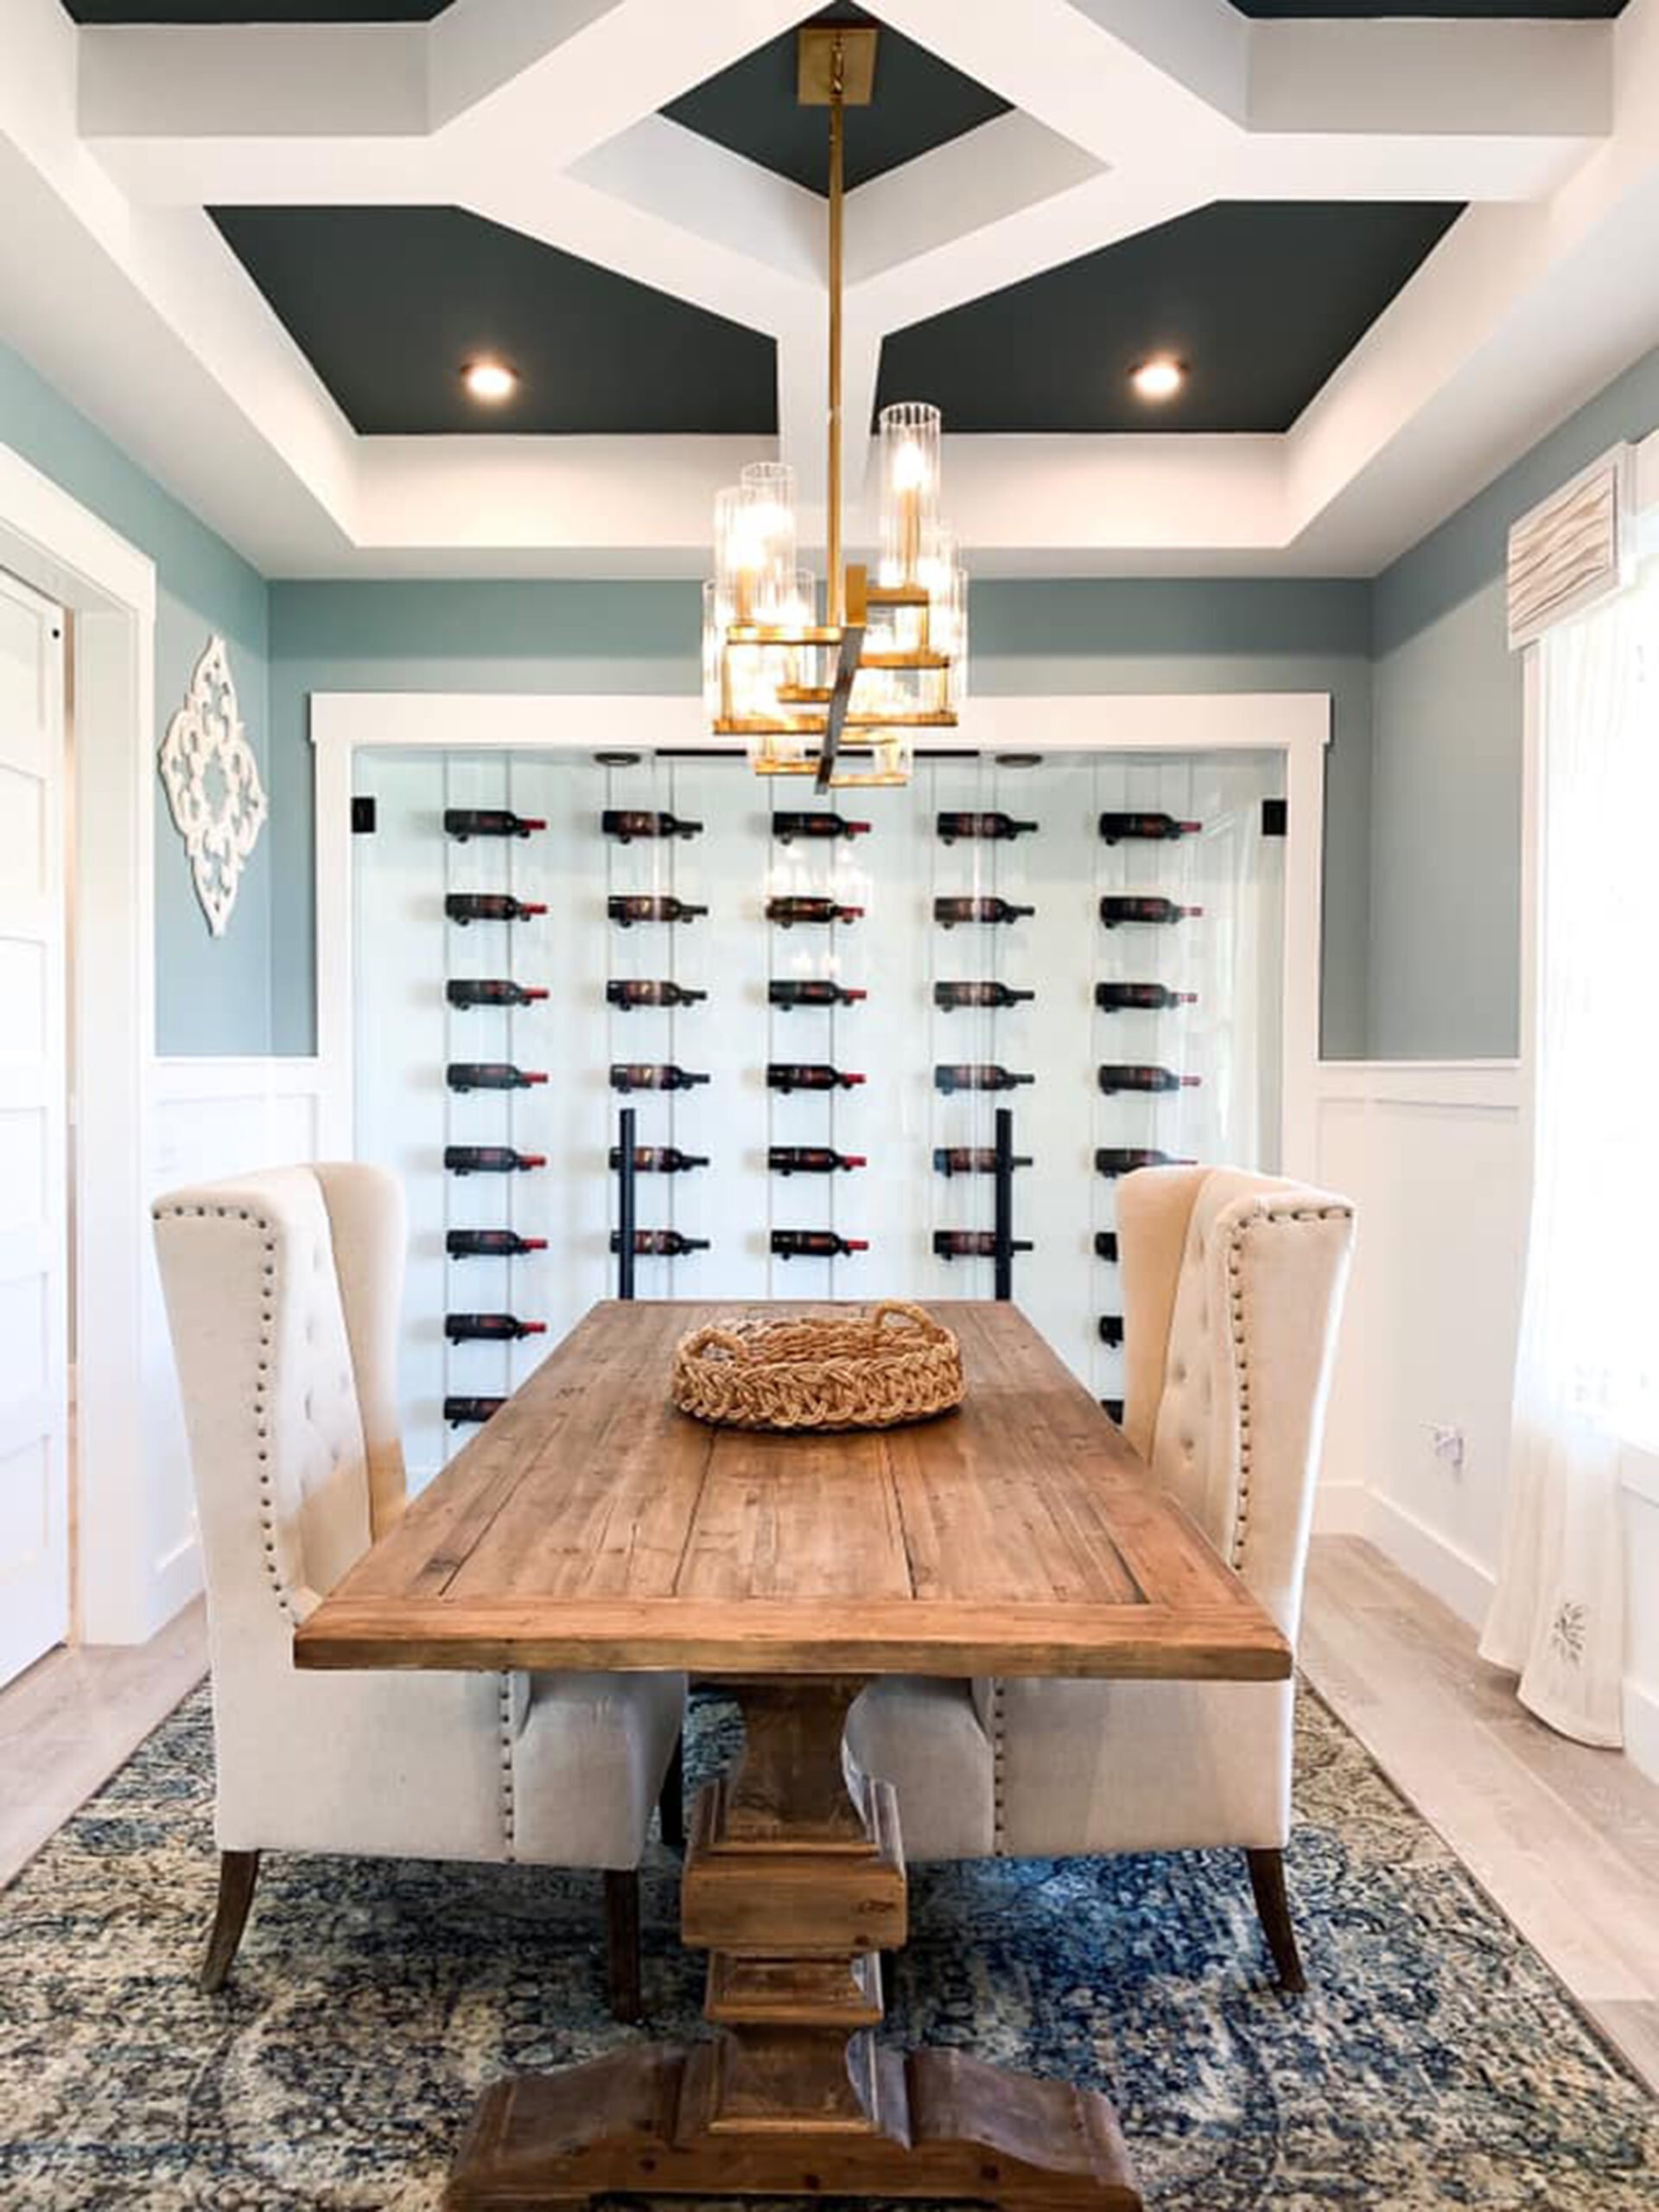
3. Choose Your VintageView Wine Rack Style (Pegs, Columns, Floating)
VintageView’s wall-mounted wine racks come in columns, pegs, floating systems, and much more. Each has a unique design — with several finish options — style to pair with the aesthetics you strive for. Beyond look, it’s important to figure out if you are a maximalist or minimalist, and how that lines up with your bottle capacity needs.
4. Measure Five Times
Make that six. One of the biggest mistakes a DIYer makes is improper measurements when ordering wine racks. This leads to either too many or too few wine racks for the project. Consult our spec sheets or have a complimentary design created for your space to get an idea of what will fit. If you are good with a measuring tape and bad with math, we offer complimentary design services to help map out your space.
5. Download the BILT App or Watch our Installation Videos
Most of our products are simple to install but a good visual always helps. We offer Bilt 3D instructions to your mobile device for most products and we also have a library of installation videos that show how our wine racks assemble and attach to the wall. This will give you the confidence to install the racks.
6. Wine Rack Installation Steps for Drywall & Wood
Make sure you have all the tools. The mounting hardware is already included in just about every product we offer. Confirm your surface (drywall or wood). Measure six times (and level, level, level) when you are actually installing. Take a few minutes longer just to get it right. It’s not difficult and a little extra patience and time will ensure a success.
Call us if you get stuck.
Your favorite wines will be happy once they are resting in your VintageView wine racks. Take some photos and share on Instagram. We love to see your handywork.